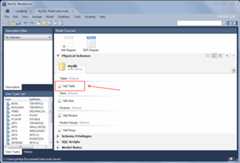
Create a new table by double-clicking theAdd Table icon in thePhysical Schemas panel, as the next figure shows. This action opens the table editor docked at the bottom of the application. You can undock or dock this editor in exactly the same way as the schema editor window.
Initially, the table name defaults to 'table1' in the table editor. The following figure describes the available actions.

In the previous example, columns were added using theColumns tab. Clicking an empty row will add a new column, and clicking an existing column starts edit mode. Click theTab key to move to the next column and set the column's data type.
Altering the table by adding indexes or other features is also possible using the table editor by clicking each tab within the table editor.