

Step 2: Create an API proxy
This pageapplies toApigee andApigee hybrid.
View Apigee Edge documentation.
Next, create an API proxy.
Position your cursor over theapiproxies folder in your workspace and click
 .
.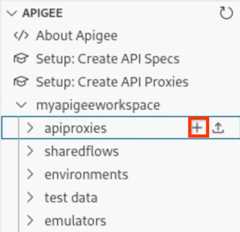
TheCreate API proxy wizard opens.

ClickAPI key based authentication.
Enter the following values for the next set of prompts. PressEnter after each to confirm and proceed.
Field Value Description API proxy namehelloworld Name used to identify the API proxy. API proxy base pathhelloworld Part of the URL used to make requests to your API. Apigee uses the URL to match and route incoming requests to the proper API proxy. Backend target URLhttps://mocktarget.apigee.net Target URL that Apigee invokes on a request to the API proxy. The mocktargetservice is hosted at Apigee and returns simple data.The API proxy is created.
Expand thehelloworld folder to view the contents of the API proxy bundle.

Default API proxy and target endpoints, and a set of policies to manage API key based authentication, are added to the API proxy configuration based on your selections using the wizard.
In the next step, you configure and deploy an environment that includes yourhelloworld API proxy.
12(NEXT) Step 3: Configure and deploy an environment45678
Except as otherwise noted, the content of this page is licensed under theCreative Commons Attribution 4.0 License, and code samples are licensed under theApache 2.0 License. For details, see theGoogle Developers Site Policies. Java is a registered trademark of Oracle and/or its affiliates.
Last updated 2025-12-15 UTC.